Selelekela
Kea leboha ha u rekileasing the GPX 9-inch Portable DVD Player, Model PD901BDLP. This manual provides essential information for the safe and efficient operation of your device. Please read it thoroughly before use and retain it for future reference.
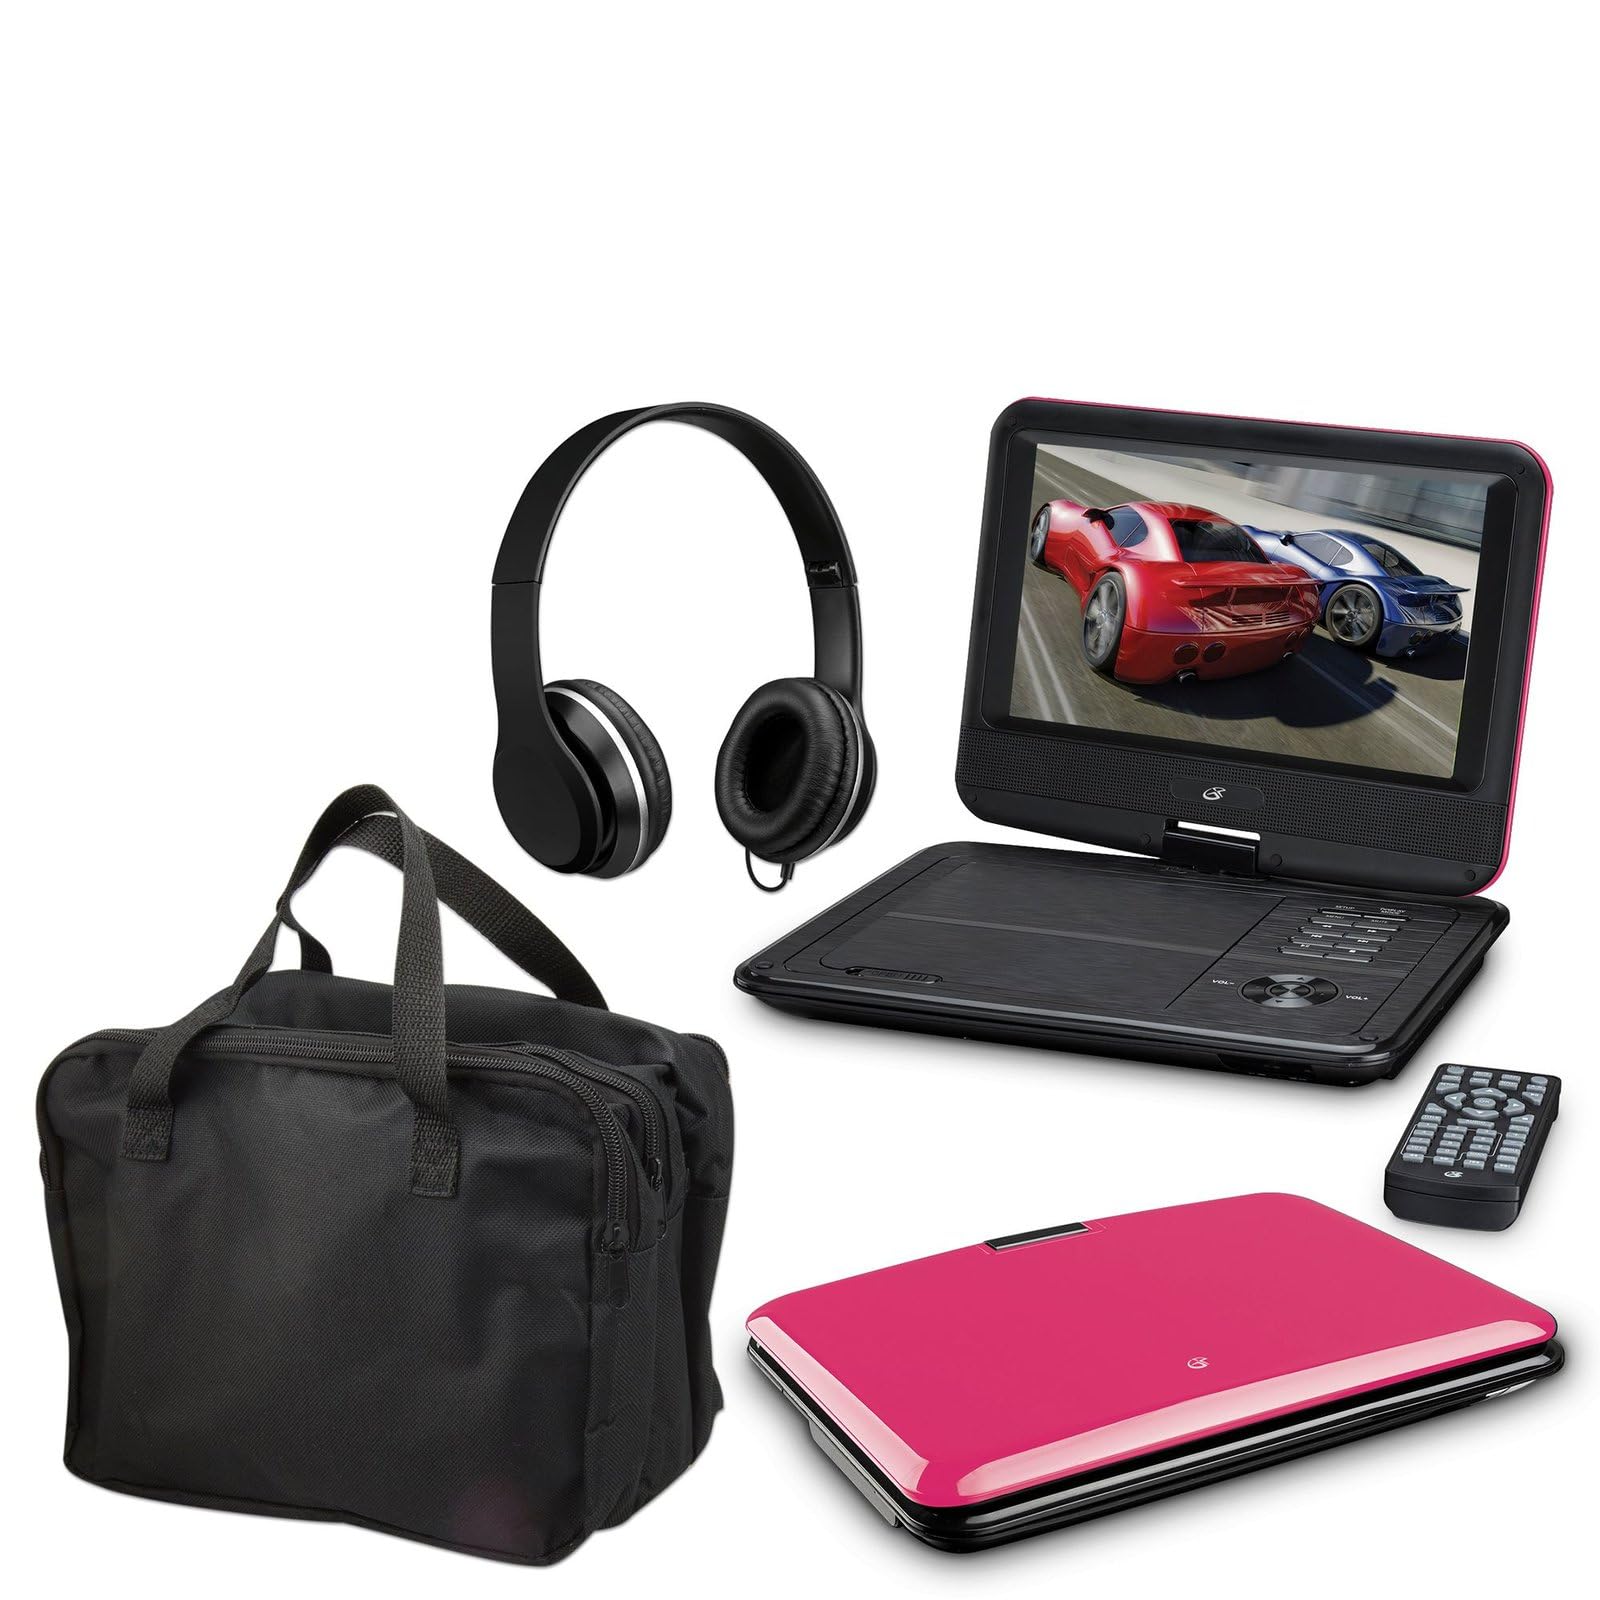
Image: The GPX 9-inch Portable DVD Player in its closed position, showcasing its vibrant pink top casing and sleek design.
Litaba tsa Sephutheloana
Netefatsa hore lintho tsohle tse thathamisitsoeng ka tlase li kenyelelitsoe ka har'a sephutheloana sa hau:
- GPX 9-inch Portable DVD Player (Model PD901BDLP)
- Taolo e hole (e hloka libeteri tse 2 tsa AAA, li kenyelelitsoe)
- Adapter ea motlakase ea AC/DC
- Adapter ea koloi ea 12V
- 3.5mm-to-RCA audio/video cable
- Ho jara mokotla
- Li-headphone
- Buka ea litaelo (tokomane ena)
Likarolo tsa Sehlahisoa
- 9-inch 800x480 LCD screen
- Screen tilts and swivels for versatile viewing angles
- Rechargeable lithium polymer battery with up to 2 hours of battery life
- Libui tsa stereo tse hahelletsoeng ka hare
- Headphone jack bakeng sa ho mamela ka lekunutu
- RCA output for connection to external displays
- Supports DVD, DVD-R/RW, DVD+R/RW, CD, CD-R/RW, JPEG, MP3 formats
Tlhophiso
1. Ho tjhaja Betri
Before first use, fully charge the internal lithium polymer battery. Connect the AC/DC power adapter to the DC IN port on the DVD player and plug the other end into a standard wall outlet. The charging indicator light will illuminate. Charging typically takes approximately 3-4 hours for a full charge, providing up to 2 hours of playback.
2. Ho kenya Libetri tsa Remote Control
Open the battery compartment on the back of the remote control. Insert two (2) AAA batteries, ensuring correct polarity (+/-). Close the compartment securely.
3. Connecting to a Television (Optional)
Ho view content on a larger screen, use the included 3.5mm-to-RCA audio/video cable. Connect the 3.5mm end to the AV OUT port on the DVD player. Connect the RCA (red, white, yellow) ends to the corresponding AV INPUT ports on your television. Select the correct AV input source on your TV.
4. Using the Car Adapter (Optional)
For in-car use, connect the 12V car adapter to the DC IN port on the DVD player and plug the other end into your vehicle's cigarette lighter socket.
Litaelo tsa Ts'ebetso
1. Ho tima/Ho tima
Tobetsa o hatelle MATLA button on the player or remote control to turn the device on or off.
2. Inserting a DVD
- Gently open the DVD player lid.
- Place a DVD disc onto the spindle with the label side facing up.
- Tobetsa butle bohareng ba diski ho fihlela e kena sebakeng sa yona.
- Close the lid. The player will automatically begin reading the disc.
3. Screen Adjustment
The LCD screen can be tilted and swiveled to achieve the optimal viewing angle. Carefully adjust the screen to your preferred position.
4. Litaolo tsa Motheo tsa ho Bapala
- BAPALA/ KHUTSA: Press to start or pause playback.
- EMA: Tobetsa ho emisa ho bapala.
- SKIP (<< / >>): Press to skip to the previous or next chapter/track.
- FF / REW: Press and hold to fast forward or rewind.
- BOLUMO (+/-): Adjust the audio volume.
5. Ho Sebelisa Li-headphone
Plug the included headphones into the SEHLOOHO jack for private listening. The built-in speakers will automatically mute when headphones are connected.
Tlhokomelo
- Ho hloekisa skrine: Use a soft, lint-free cloth to gently wipe the LCD screen. Do not use liquid cleaners or abrasive materials.
- Cleaning the Disc Tray: Keep the disc tray free of dust and debris. Use a soft brush or compressed air if necessary.
- Tlhokomelo ea Betri: To prolong battery life, avoid fully discharging the battery frequently. If storing the player for an extended period, charge it periodically.
- Polokelo: Store the DVD player in a cool, dry place away from direct sunlight and extreme temperatures. Use the included carrying case for protection during transport.
Ho batle phoso
| Bothata | Tharollo |
|---|---|
| Sebapali ha se sebetse. | Ensure the battery is charged or the AC/DC adapter is securely connected to a working power outlet. Check the power switch. |
| Ha ho disc e fumanoeng. | Verify the disc is inserted correctly with the label side up and seated properly on the spindle. Ensure the disc is clean and free of scratches. Try a different disc. |
| Ha ho molumo. | Check the volume level. Ensure headphones are not plugged in if you intend to use the built-in speakers. If connected to a TV, check the TV's volume and input settings. |
| Remote control ha e sebetse. | Check and replace the AAA batteries in the remote. Ensure there are no obstructions between the remote and the player's IR sensor. |
| Setšoantšo se sothehile kapa se lerootho. | Clean the disc. Adjust the screen angle. If connected to a TV, check the AV cable connections. |
Litlhaloso
- Mohlala: PD901BDLP
- Boholo ba skrini: 9 inch
- Mofuta oa Pontšo: LCD
- Qeto ea Naha: 800 x 480
- Mofuta oa Media: DVD, DVD-R/RW, DVD+R/RW, CD, CD-R/RW, JPEG, MP3
- Betri: Rechargeable Lithium Polymer
- Bophelo ba Battery: Ho fihlela lihora tse 2
- Khokahano: 3.5mm AV Out, Headphone Jack, DC In
- Kenyeletso ea Matla: AC/DC Adapter, 12V Car Adapter
- Boima ba 'mele: Hoo e ka bang liponto tse 1.9 (0.86kg)
- Mmala: Pinki
- UPC: 047323179044
Warranty le Tšehetso
This GPX Portable DVD Player is covered by a Tiisetso e lekantsoeng ea moetsi ea matsatsi a 90 from the date of original purchase. This warranty covers defects in materials and workmanship under normal use.
For warranty service or technical support, please refer to the contact information provided with your product packaging or visit the official GPX websebaka. Boloka rasiti ea hau ea theko e le bopaki ba hore u rekile.
Ho fumana lintlha tse ling, u ka etela ho GPX Store on Amazon.